
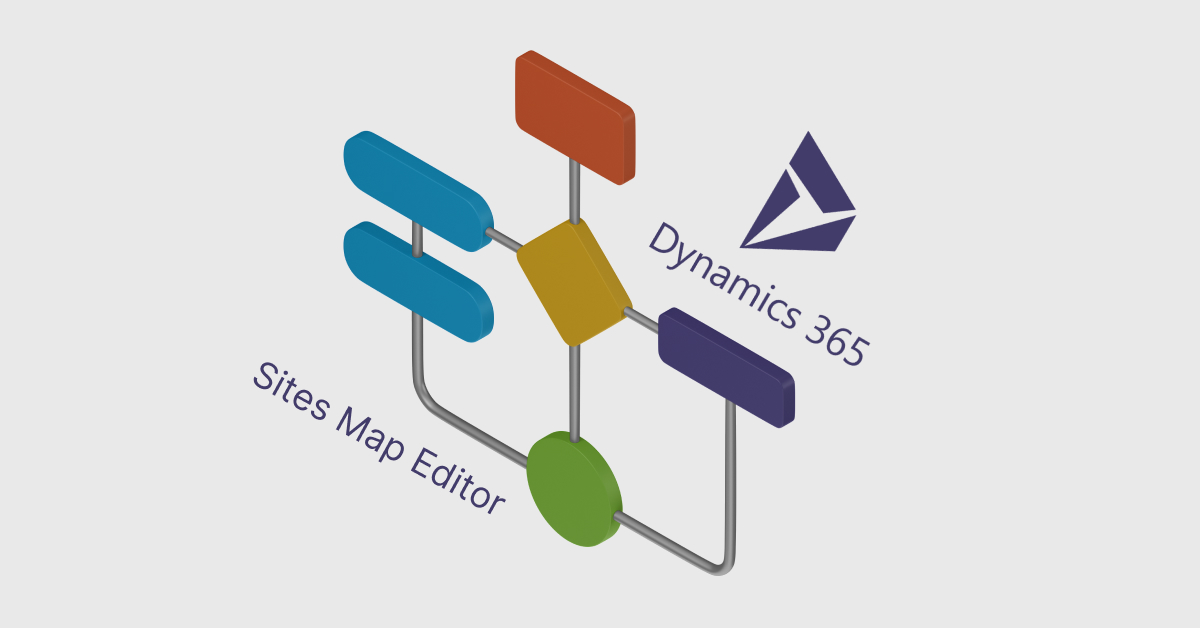
The structure of your app’s interface is determined by its site map editor dynamics 365. Use the tile-based site map editor dynamics 365 creators to make a site map quickly and easily for our app. simply drop elements from the library onto the canvas, do a quick preview, then hit publish to get your sitemap live. Site maps for applications may be readily made by administrators and anybody else with the appropriate permissions.
The site map builder lets you choose titles for regions, subdivisions, and clusters in any of the languages that are good for the environment.
There is a default sitemap editor dynamic 365 that may be used. The site map builder allows you to make changes to the current site map and also set up site maps for brand-new apps. The app designer incorporates a site map creator.

Prerequisites
Before you begin constructing the site map editor dynamics 365 make sure the following conditions are met: Verify that you have the rights of a System Administrator or a System Customiser.
This includes, but is not limited to, users who have the following permissions:
The app entity has full authorization to create, read, and update records.
The Customisations object has full read/write access.
Access to the Solution entity with reading rights
Make an interactive app map
From the app designer canvas’s Site Map section, select start the Site Map Designer.
When the website designer launches it, a blank canvas appears with one region, one block, and one in remote already present. If you want to modify the settings for a certain area, block, or subarea tile, just click on it.
Note: By default, if there isn’t already one, when you choose Open the Site Map Designer from the app designer canvas, one is generated and given the same name and identifier as the app.
Please include this region on the site map.
Include a new section on the site map editor dynamics 365.
Include a sub-section under a section on the site map.
Select save
Note: When you return to the app designer and click Save, the updated site map will be saved alongside the project. The site map tile will read “Setup” if the site map has been configured and “Not Configured” otherwise. The site map will be automatically connected with the app based on the app’s unique name if you launch the site map designer from the app creator and setup a new site map but close the browser before linking the site map with the app.

Select publish
Edit the default sit map
Your environment already has a pre-existing site map. Business-specific applications and Microsoft’s Dynamics 365 for Outlook may both use this site map editor 365.
Navigate to
Settings > Customisations within the sitemap editor Dynamics 365 customized app.
Just go to System Settings and tweak it to your liking.
To use client extensions, click on components in the solution window.
Simply double-click on the site map that is currently in a managed state and has the name Site Map. Choose the site map, and then click Edit in the menu bar.
The site map creator loads and displays the site map.
Expand the existing site map by including this new section.
Create a new section on the site map.
In the site map, add a new sub-section to an existing section.
Select save
Select publish
Add an area to the sites map
Areas may be added to the site map by clicking Add on the designer’s canvas.
You may fill the blank space on the canvas by dragging the Area tile from the Components menu. When the tile is placed properly on the canvas, the blank square will become visible.
Choose the new section you created. In the panel to the side of the canvas, the Properties tab is selected.
You can either add to or change the area’s attributes.
Under general do the following:
Title: Type the section’s name in the organization’s primary language.
Icons: The program’s standard icon is used. Choose a new location icon from the solution’s collection of online tools.
ID: You will be assigned a random ID that you can change if you’d like. If the ID you give isn’t unique, users of the app may have trouble, and you may get a warning when you try to import a solution with this site map.
Featured Groups:
If this option is checked, the sub-area groups will appear in the left-hand navigation panel.
Under advance do the following:
If your company uses more than one language, select a language (Locale), enter the title, and then click Add.
You have complete control over managing titles in as many languages as your company needs. However, only one title per country is allowed.
Additional Description:
If your company operates in more than one language, choose a language for the characterization, input the summary, and then click Add.
All the languages used by your company can have their own individual descriptions added, changed, or removed. One language may only have one description.
Enter the URL you want to see for the Microsoft Dynamics for Windows folder that serves as the region.
Add group to the sites map
The location where the new group will be added may be found on the site map designer’s canvas.
After clicking “Add,” choose the “Group” option.
Drag the group tile from the component tab to the empty box underneath the area on the canvas. The blank space will become visible once the tile is properly placed on the canvas.
The newly added group should be chosen.
Specify or alter the following group attributes right here on the Properties tab
Follow these steps under “General:”
Group Title: Specify the group’s official name in the organization’s primary language.
An identifier (ID) will be produced for you at once. If a new one is necessary, please enter it here. If the ID you supply is not distinct, you may receive an issue when importing a solution that contains this site map, thus, we advise going with the automatic ID.
Make the necessary adjustments in the advanced section by clicking:
Choose a language (Part of Town) for the group’s title, type in the group’s title, and then click Add if your company uses more than one language. Names in as many countries as our company needs can be made, changed, or removed. A single title in each language is the limit, though.
Detailed Descriptions: If your company operates in more than one language, choose a language for the group’s description, input the description, and then click Add. The number of languages your company uses is irrelevant to your ability to add, change, or remove descriptions. One language may only have one description.
To display the URL for the group’s representation in Dynamics 365 for Outlook, type it here.
Save Default: Mark this category as user-selectable if it describes a job profile you’d like to adopt. Personalization settings now include the profile of the selected group.
Now that you have the complete solution with the app. The last thing left to do here is publishing all the customisations and export the solution to import another environment.
Why Choose Stallions Solutions?
There are more than a few reasons to trust Stallions Solutions to smoothly lead your business through its digital innovation and get ahead of the game. First, you get to benefit from our years of experience helping clients from various industries and countries with different needs, which allows us to cater to your needs better.
On top of that, we aim to hire brilliant people to accumulate a group of experts who know how to boil down your business data to your needs and goals. It allows them to customize a digital solution that fits your requirements, so you can grow even more.
Our custom digital solutions help you aim higher and better as they are brought to you by a team with years of experience.
At Stallions Solutions, you can expect nothing short of the best, as they timely deliver a solution made to fit your needs perfectly.